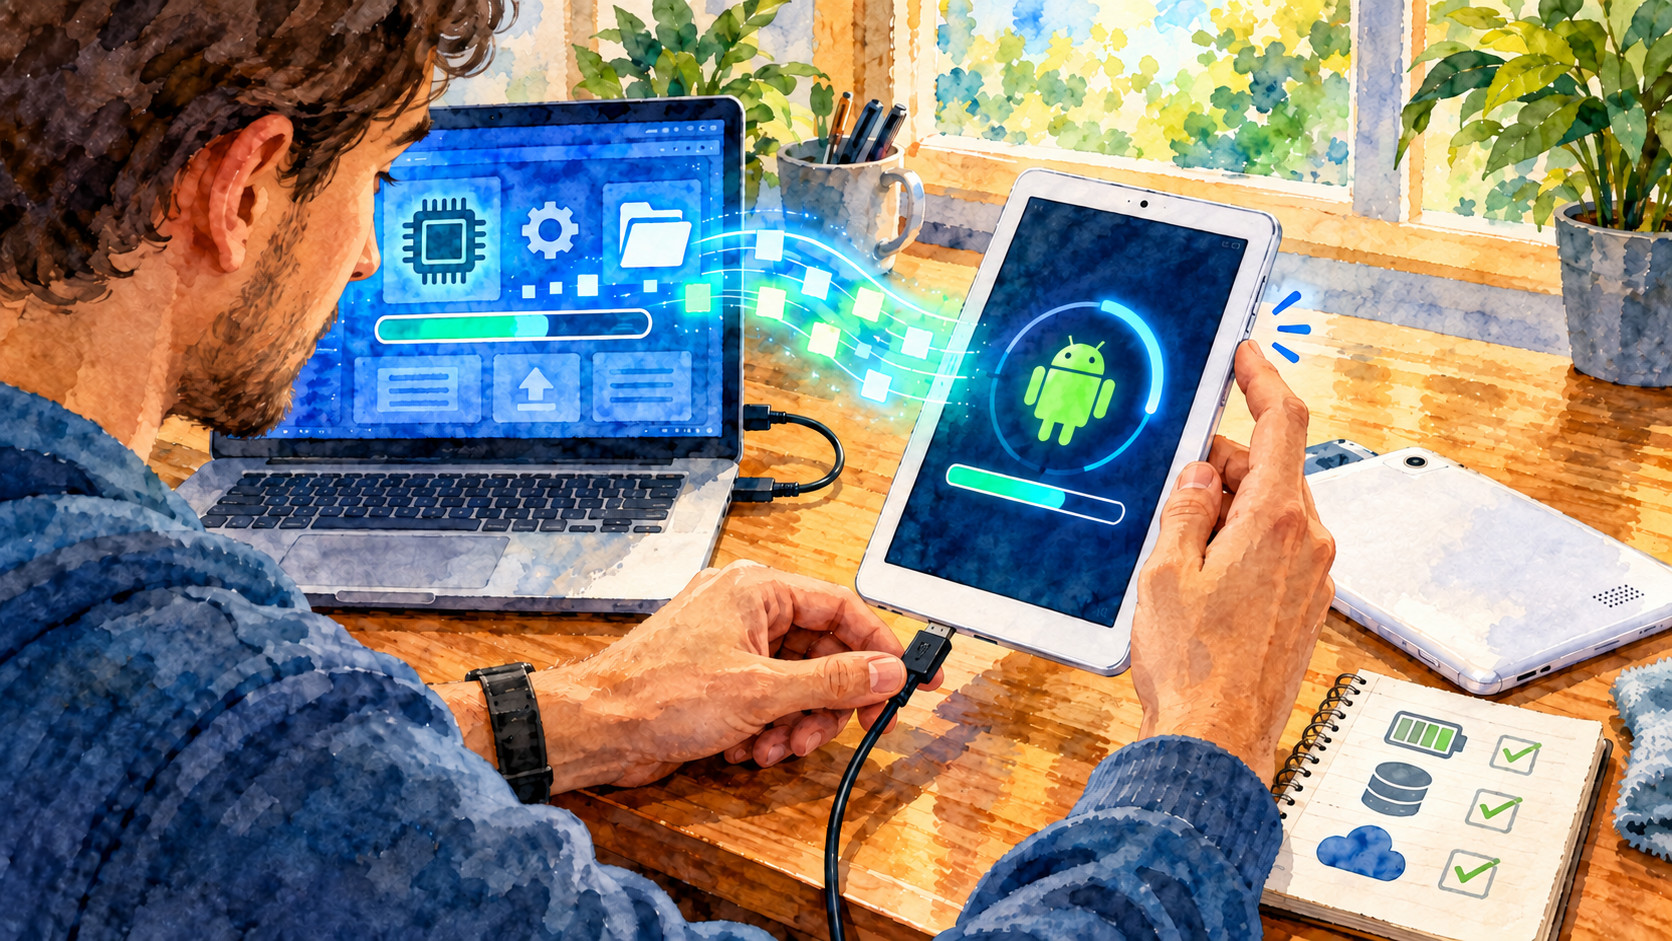
In this article, we'll show you how to reflash an Android 9.1 tablet. These were the P80X tablets, which shipped with the v1.4 and later machines.
Please note that reflashing a tablet can brick it. So only do this as a last resort and if recommended by Decent tech support.
Important Safety Notice
Back up your data: Reflashing will completely erase all apps, files, and settings on your tablet.
Check your product ID first: Flashing the wrong firmware can permanently brick your device.
Charge your tablet: Ensure your tablet has at least 50% battery before starting.
Use as a last resort: Reflashing carries a risk of bricking your device. Only perform this process if the tablet is stuck in a boot loop or cannot boot successfully.
Step 1: Identify your product ID
Before downloading or flashing anything, turn over your tablet and check the back cover to find your exact Product ID:
Look for either G5K6 or G5K7.
If your product ID differs, find a suitable firmware from Teclasts website here - http://www.teclast.com/en/firmware/
Step 2: Download the required files
For product ID: G5K6
Firmware package: Download P80X(G5K6)_Android 9.0_EEA_V3.00_SZ.zip_Android%209.0_EEA_V3.00_SZ.zip?attachment=true) (1.44 GB).
For product ID: G5K7
Firmware package: Download P80X(G5K7)_Android 9.0_EEA_V1.02_SZ.zip_Android%209.0_EEA_V1.02_SZ.zip?attachment=true) (1.34 GB).
(Note: If your product ID is different from G5K6 or G5K7, do not use these files. Visit the Teclast Official Firmware Page to search for your specific model ID.)
Step 3: Prepare the flashing tools on your PC
1. Extract the downloaded firmware .zip file into a dedicated folder on your PC.
2. Inside the extracted folder, you will typically find:
USB flashing drivers
SPD / UNISOC upgrade tool (or IDT Tool)
The firmware .pac file
3. Open the Driver folder and run the installer to ensure your PC properly recognizes the UNISOC/Spreadtrum chip inside the P80X.
Step 4: Flash the firmware
1. Launch the tool: Open the upgrade tool executable (e.g., UpgradeDownload.exe or IDT.exe) from the extracted folder.
2. Load firmware: Click the Settings / Gear icon (usually top-left) and select the .pac file included in your unzipped firmware folder. Wait a few moments for the software to load the file.
3. Start the process: Click the Start / Play button inside the tool.
4. Connect the tablet:
Power OFF your Teclast P80X completely.
Hold down the Volume Down button (or Volume Up, depending on the tool prompt).
While holding the volume button, plug the tablet into your PC using a USB cable.
5. Flashing begins: The flashing tool should detect the device, and the progress bar will begin moving. You can release the volume button once it starts.
6. Completion: Wait 3–8 minutes until you see a green "Passed" or "Success" message in the tool.
7. Disconnect & reboot: Unplug the USB cable and hold down the Power button to turn on the tablet.
(Note: The first boot after a full reflash can take 5 to 10 minutes to finish rebuilding the system partition.)
#tablet #reflashing #documentation

