1. Get the update ready
Download the firmware update and unzip (extract) the folder.
Inside that folder, you should see these four files:
bootloader.bin – starts up the device
partitions.bin – tells the device how to organize its memory
firmware.bin – the main software for the device
littlefs.bin – holds the web apps for Half Decent Scale
2. Connect your device
If using a Mac, make sure you have installed the required WCH CH34X drivers for macOS first.
If using a Windows PC, make sure you have installed the required WCH CH34X drivers for Windows first.
Use a USB-C cable to connect your HDS to your computer.
If your HDS display does not turn on or doesn't show the charging animation, do not worry. ESP Flash tool can still connect to it
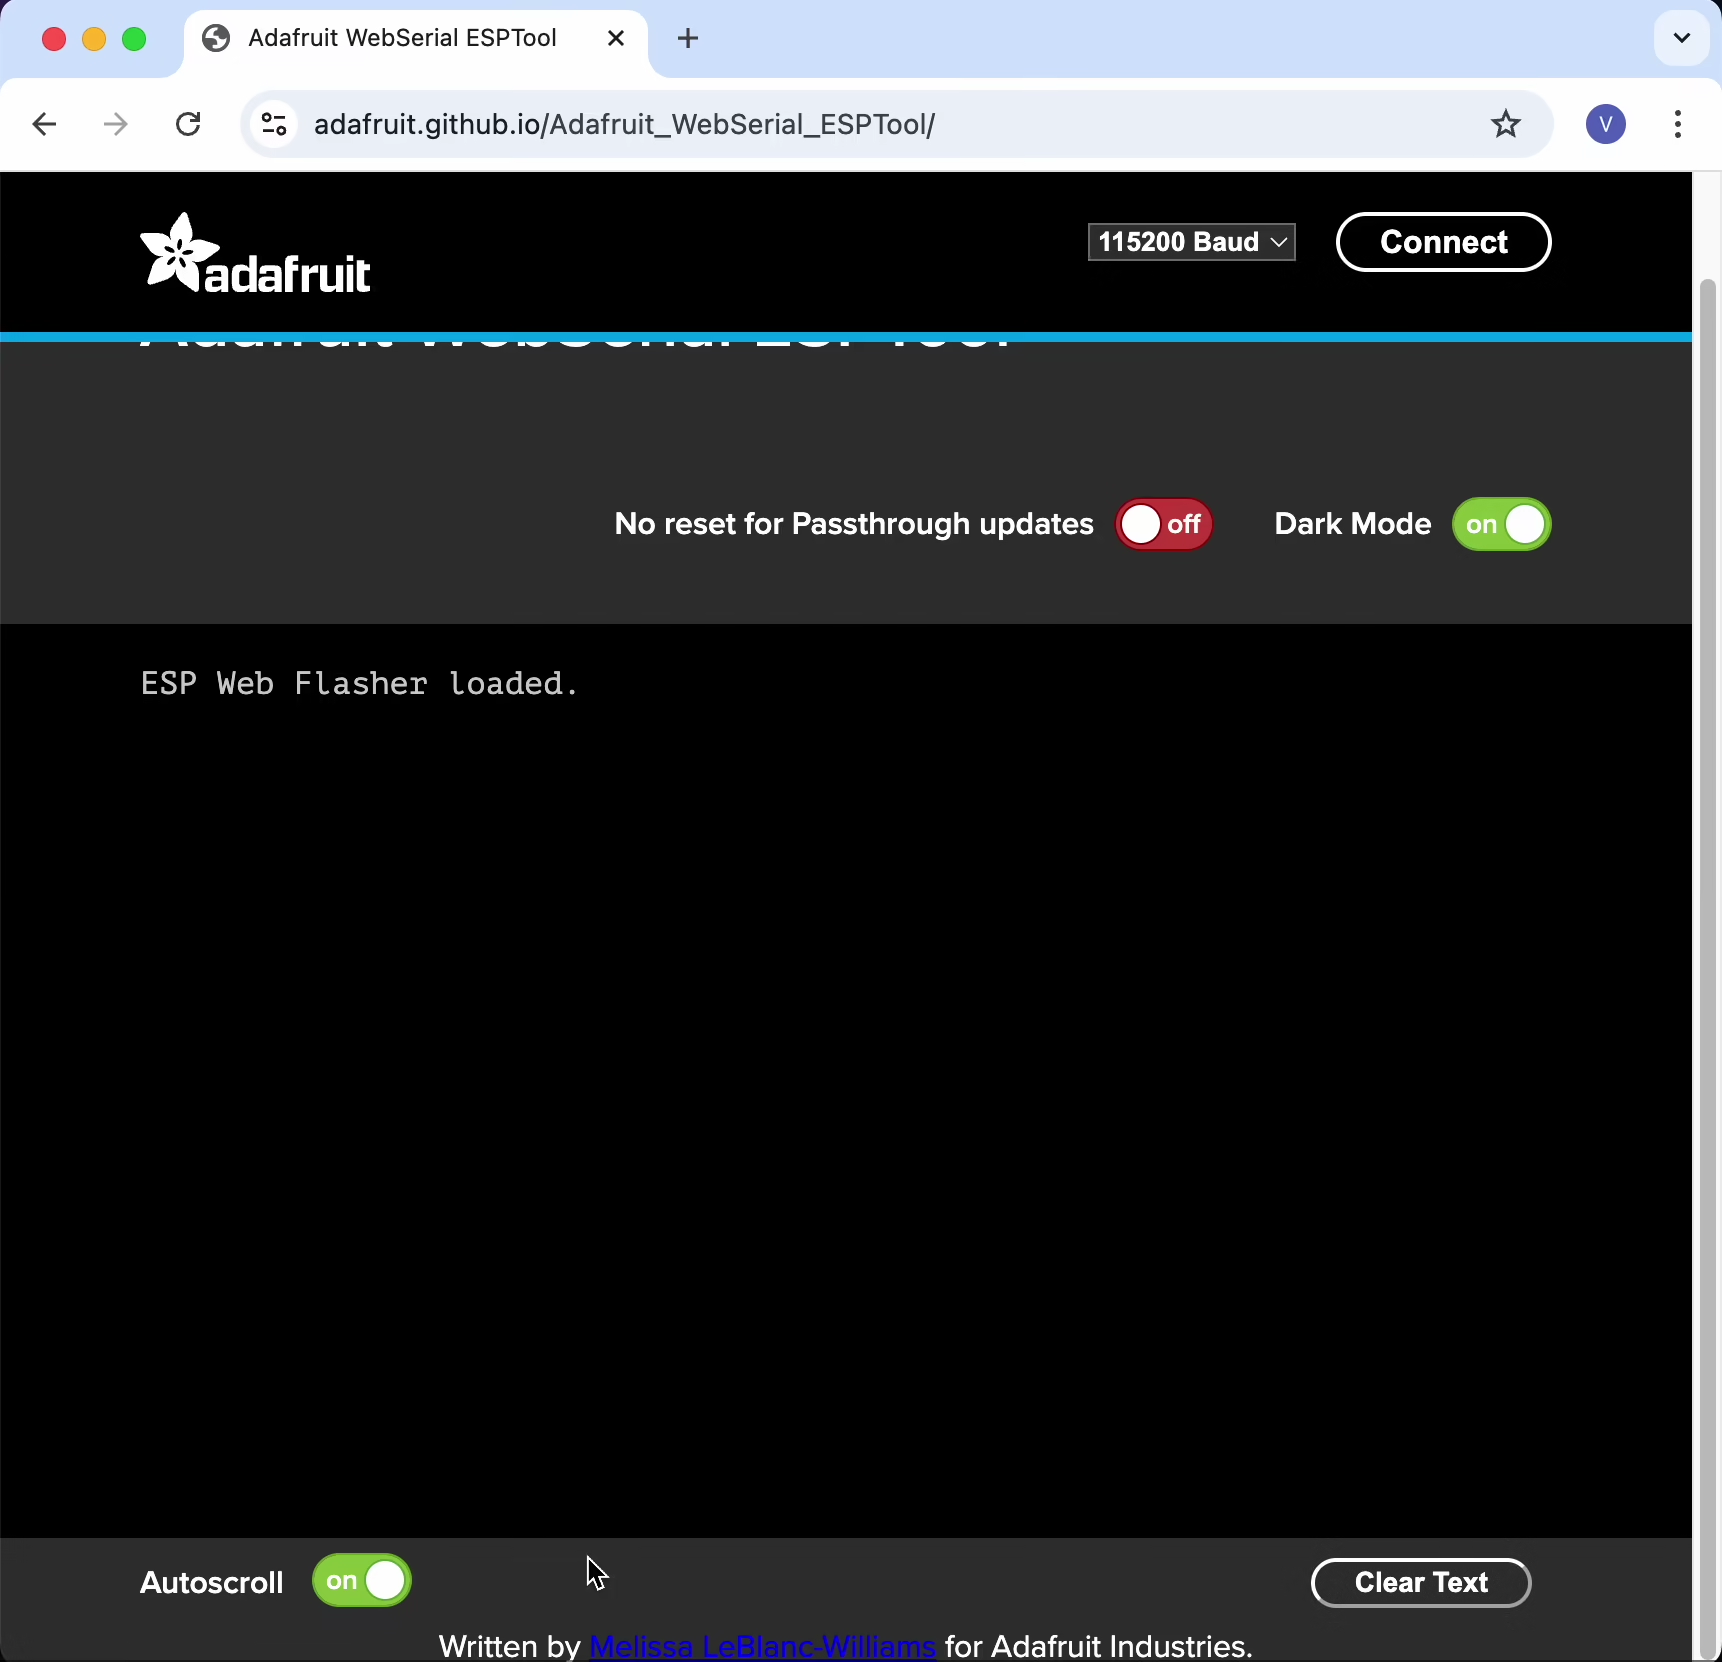
Open Firefox or Chrome (other browsers may not work).
Go to the ESP Flash Tool page in your browser.
3. Set up the tool
In the Flash Tool, choose the highest baud rate available - 921600 Baud.
Click Connect.
From the list of devices, on macOS select wchusbserial, on Windows, select "USB Serial" .
The tool should now be connected to your HDS.
HDS display will turn off at this point
4. Load the update files
For each of the four .bin files in the folder, choose it in the tool and enter the offset value shown in the video guide.
bootloader.bin: 0x0
partitions.bin: 0x8000
firmware.bin: 0x10000
littlefs.bin: 0x670000
Double-check that the offsets match correctly.
5. Start the update
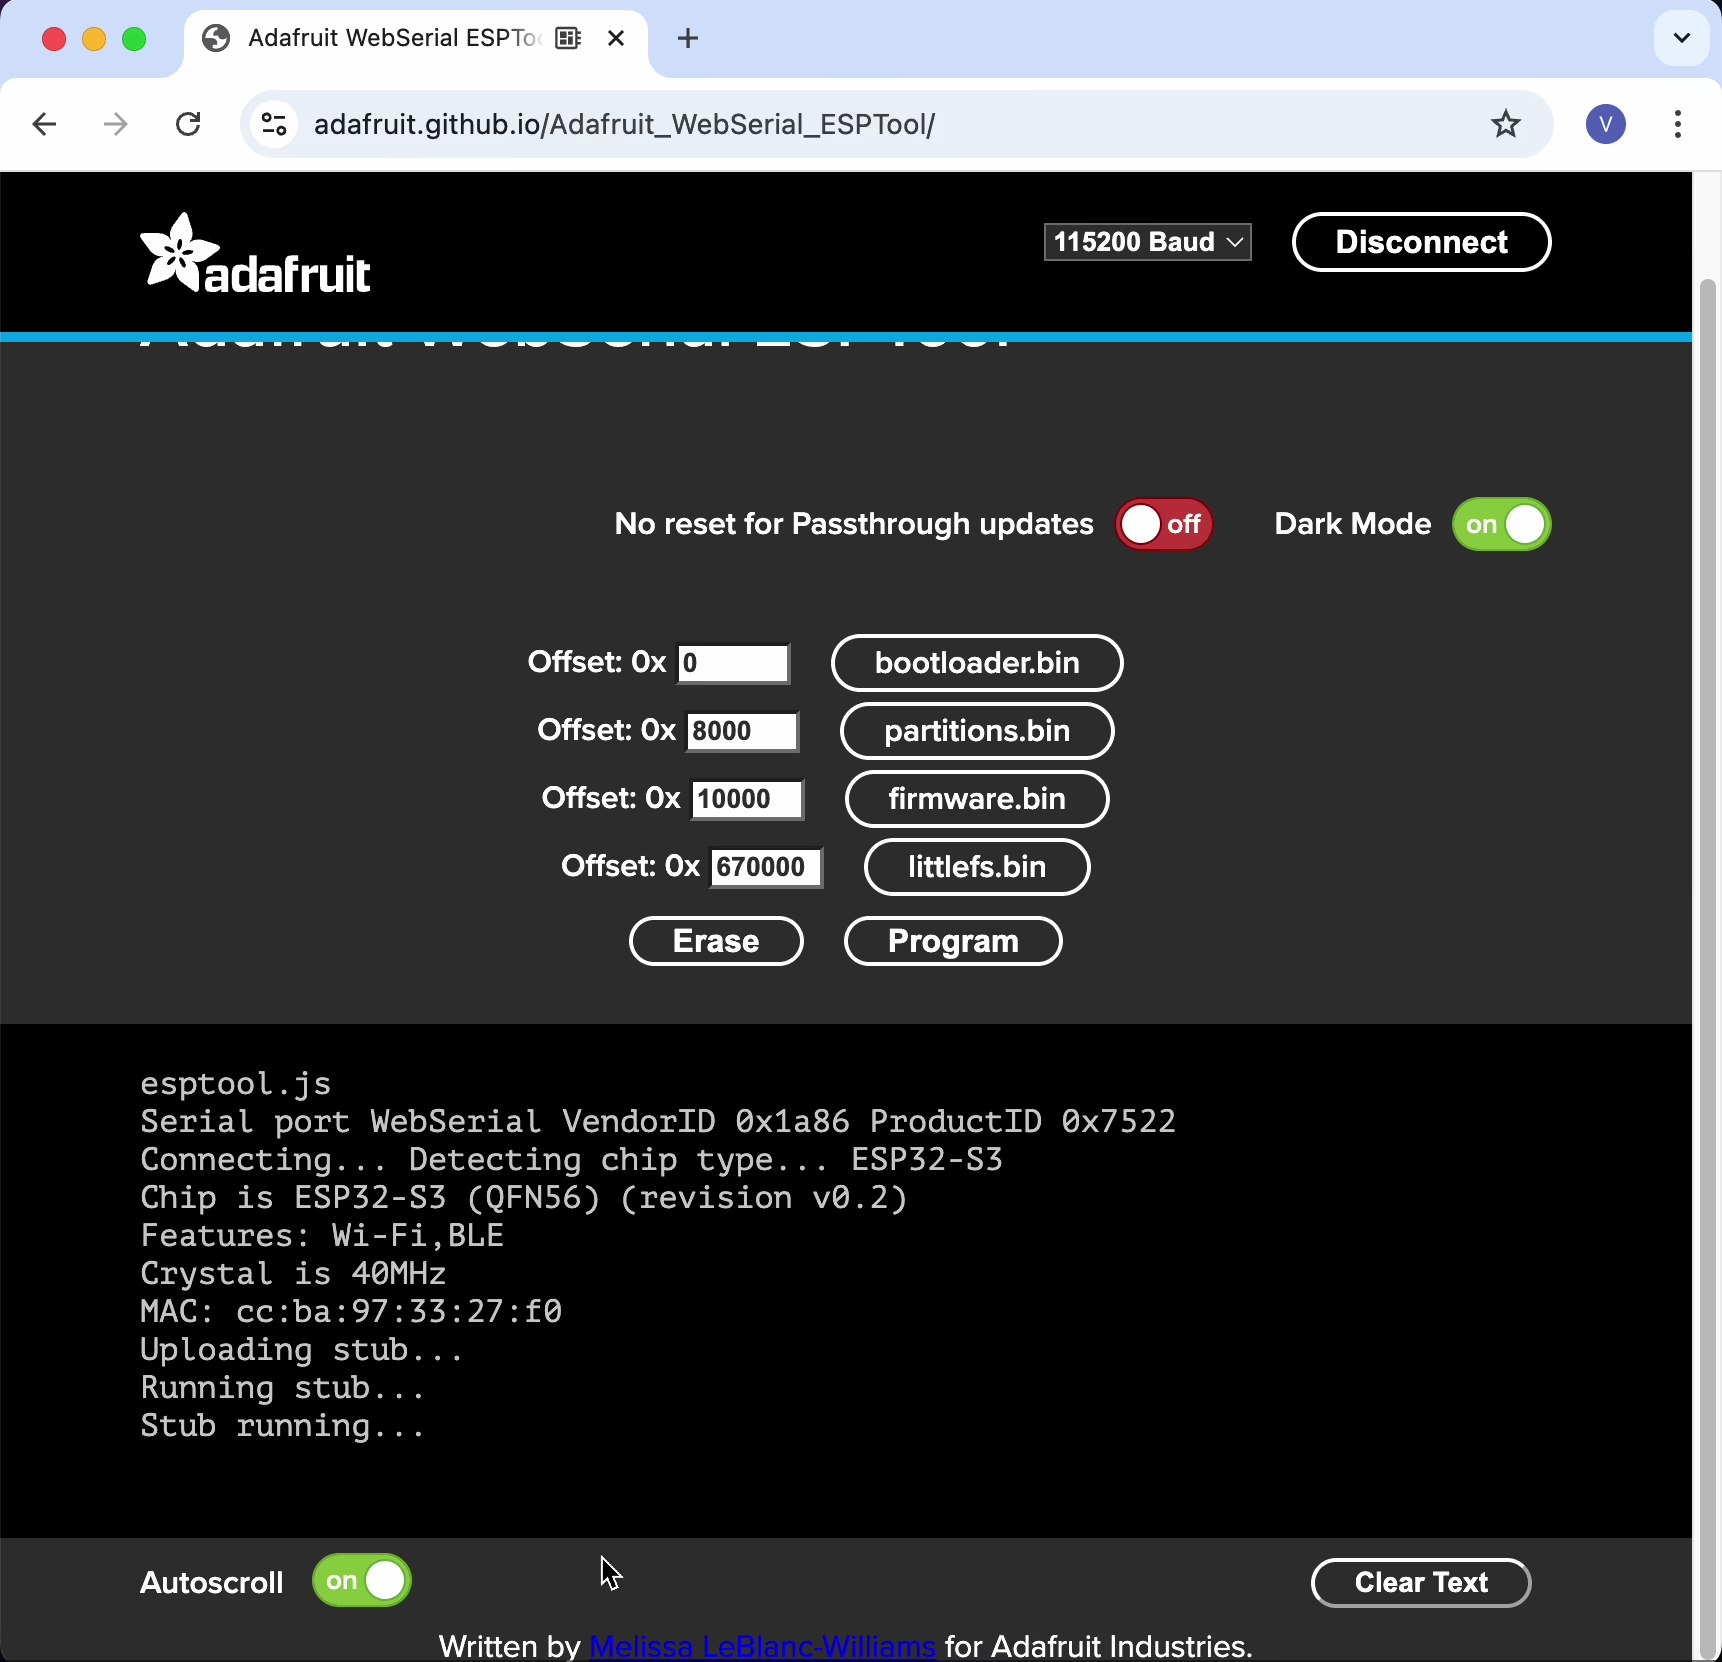
Click Program.
Wait until the tool tells you it's finished.
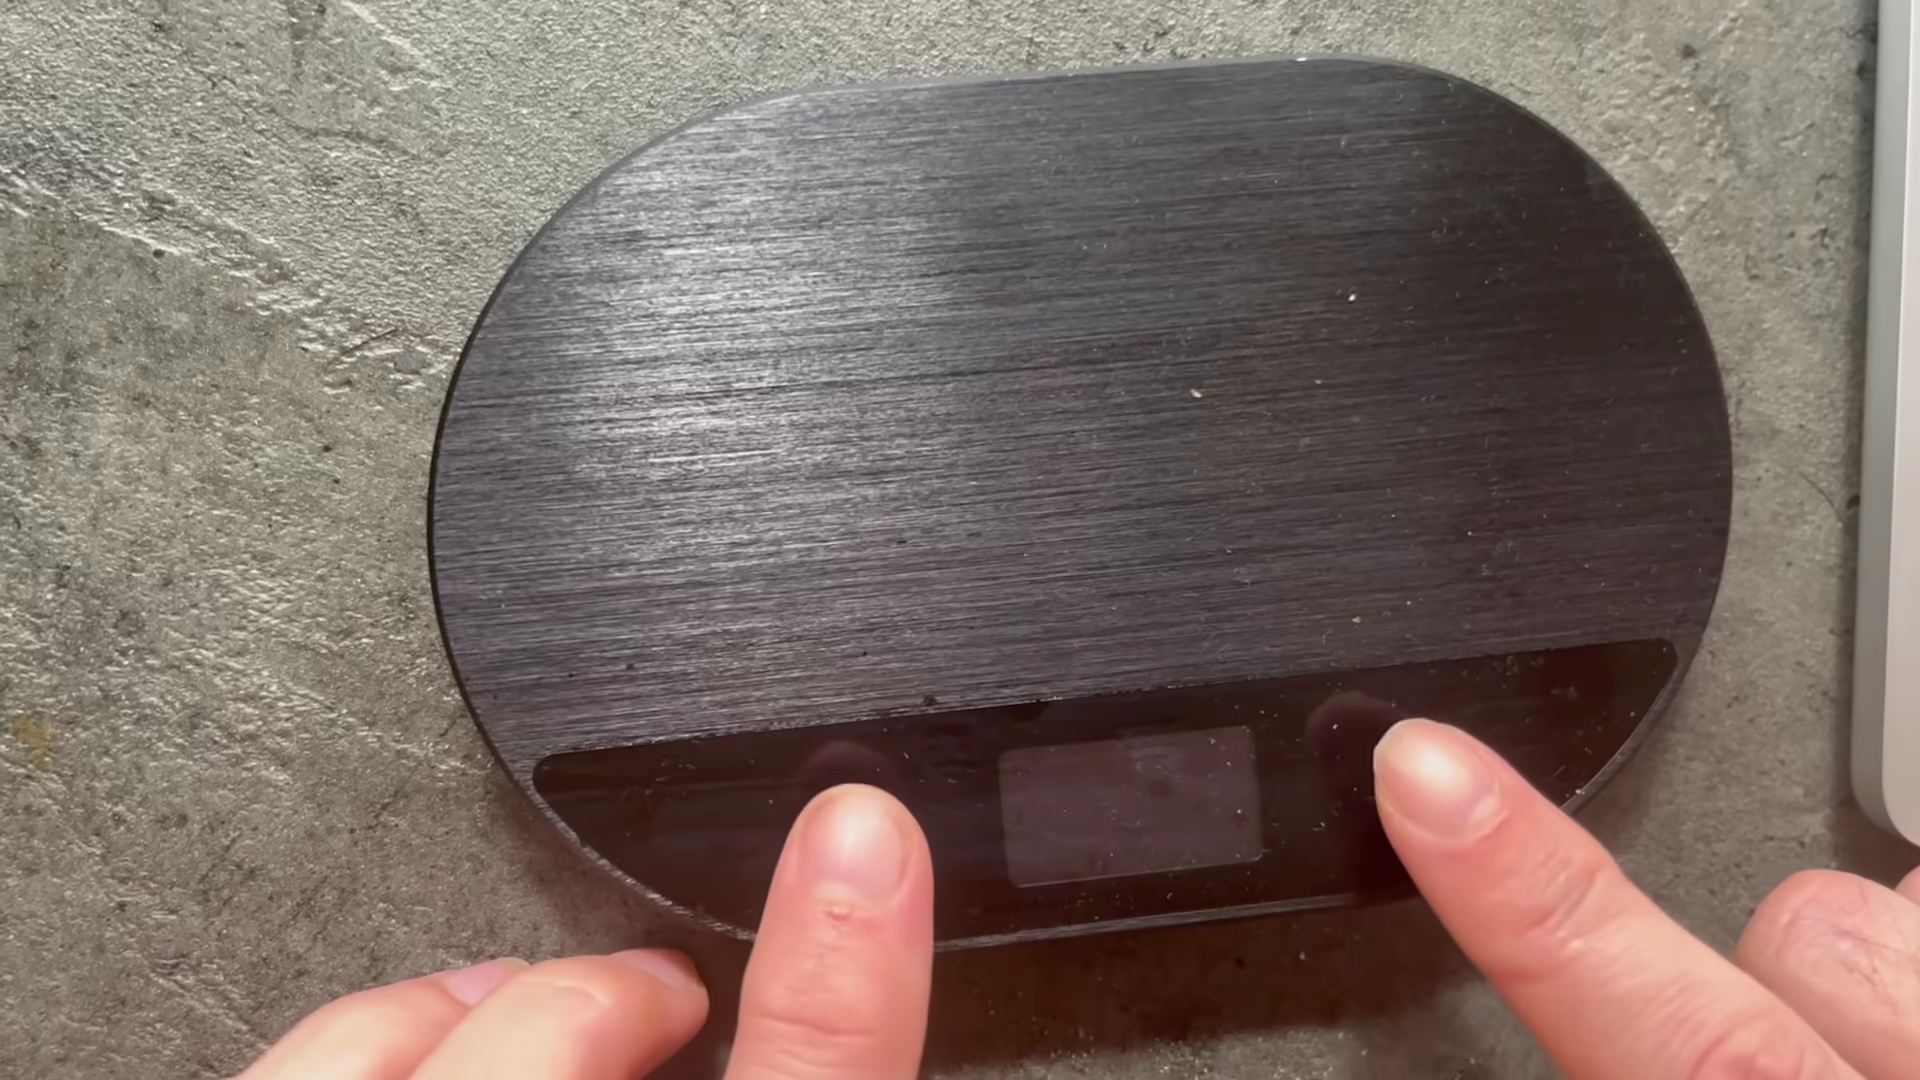
When prompted, restart your HDS:
Turn it upside down.
Find the small round hole on the bottom right.
Push a paperclip (or SIM ejector tool) into the hole until you hear a click.
6. Confirm it worked
Once restarted, open the HDS Setup menu on your device.
Go to About → you should now see version 3.0.0.
✅ Done!
Half Decent Scale Manual: table of contents
#halfdecentscale #HDS #documentation


