In this video, we'll walk you through how to manually fill the F-type tube to prime the pumps. You'll have to do this, if...
\* during the power up cycle, you can hear the pumps rattling, trying over and over to suck water up.
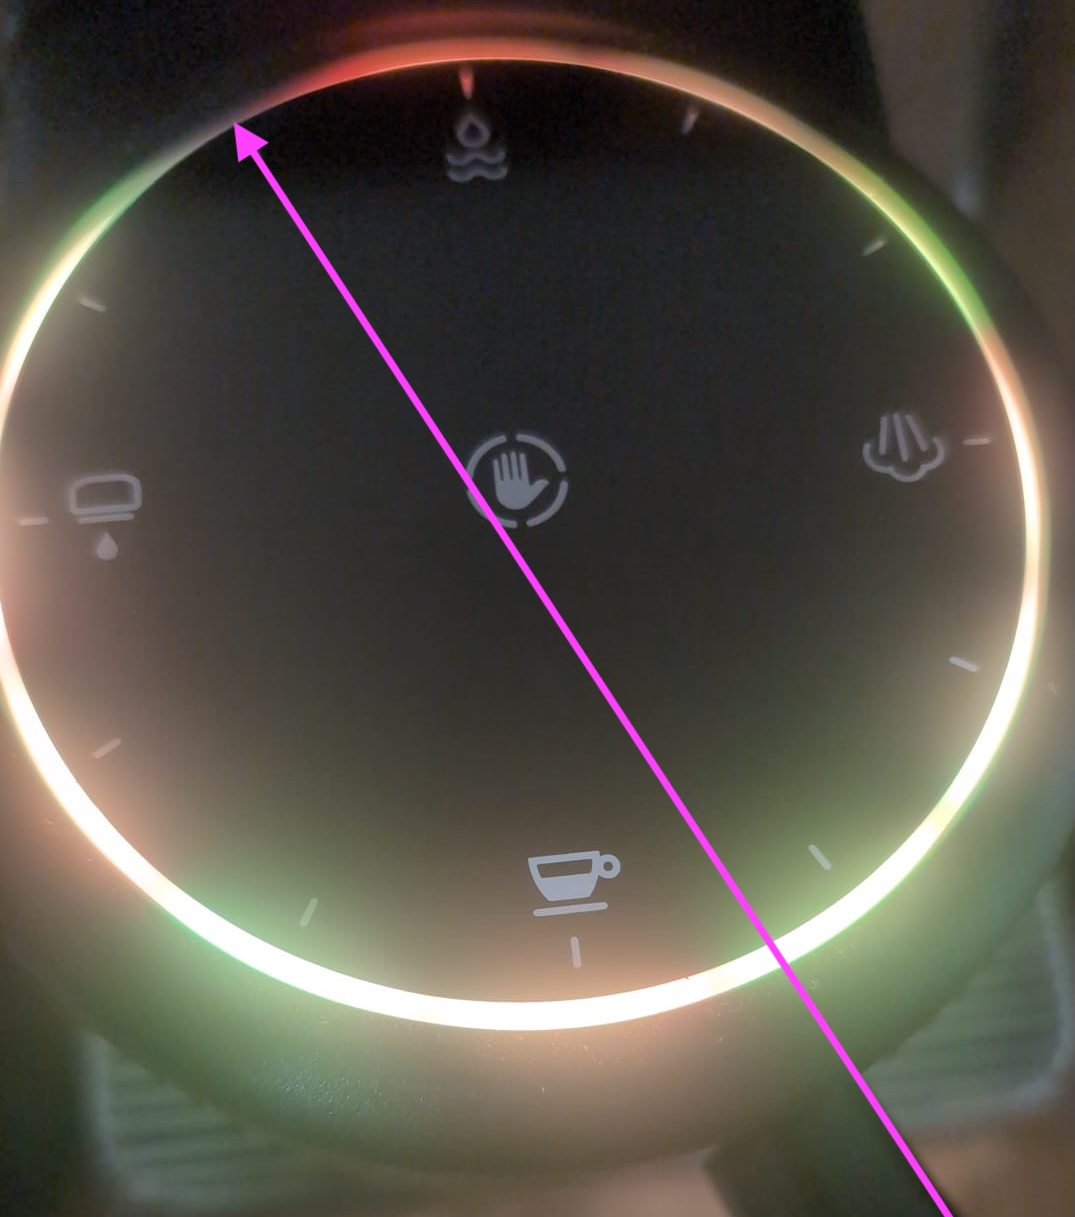
The last yellow light on the GHC doesn't light up, and turning the machine upside down and pouring water directly into the uptake didn't work (for a how to on that, scroll down to the instructions).
This video is part of a series that we produce, helping people self-repair their Decent Espresso Machine.
Only do this repair in consultation with Decent tech support
Doing otherwise might break your machine or void your warranty.
Steps:
2.
00:12 Power Disconnection
3.
00:32 Remove External Components
4.
01:14 Remove the Main Cover
5.
01:36 Remove the hose clamp
6.
02:07 Pull out the water level sensor tube
7.
02:12 Pull out the F-type tube
8.
02:19 Preparations to manually fill the tube
9.
03:07 Inject water into the F-tube with a syringe
10.
03:20 How to know if the pumps are primed well
11.
03:28 What to do if the first priming failed
12.
03:39 Re-connect the F-type tube
13.
03:52 Re-attach the water level sensor tube
14.
04:00 What to do if the priming didn't work
15.
04:21 What to do if the priming was successful
16.
04:33 Re-attach the cable-tie
17.
04:52 Re-attach the hose clamp
18.
05:09 Contact us if you have any questions
Instructions on how to manually fill the F-type tube to prime the pumps
Tools required
T10 Torx screwdriver
PH2 Phillips head screwdriver
Syringe
Pliers
Nippers
Comfort Grip Gloves
Cable tie
First, try the following to prime the pumps:
1. Turn the machine upside down
2. Pour water directly into the uptake as shown below:
If that doesn't work, follow the next steps.
Step 1: Power Disconnection
For DE1XL or DE1XXL models
1. Remove the back panel
2. Turn off the machine's back switch
3. Unplug the power cord
For DE1PRO and DE1PLUS models
1. Turn off the machine's back switch
2. Unplug the power cord
Step 2: Remove external components
For v1.43 or higher (slide-in tablet stand):
1. Unplug the USB cable.
2. Gently pull the tablet stand out.
For v1.3 to v1.42 machines (screwed-in tablet stand):
1. Unscrew the three screws holding the tablet stand.
2. Remove the stand.
Then...
1. Remove the drip tray.
2. Remove the drip tray cover.
3. Lift the lever on the back of the machine.
4. Slide the water tank out and remove it.
5. Remove the portafilter
6. Remove the group head handle.
Step 3: Remove the main cover
1. Use a Torx T10 screwdriver to remove the 8 screws securing the main cover.
2. Gently stretch the sides of the cover outward.
3. Lift the cover off the machine.
Step 4: Prepare and release the hose clamp
1. Wear comfort grip gloves.
2. Remove the hose clamp.
Use pliers to hold one ear of the hose clamp on the intake pipe. Push the other ear with your thumb while lifting the pliers and twisting slightly to release it.
Stretch the clamp to remove it from the tube.
(You may want to take off the gloves temporarily since the space is quite tight.
Put them back on after removing the clamp.)
Step 5: Access the F-type tube
Gently pull out the water level sensor tube from the board to create clear access to the F-type tube connection.
Disconnect the F-type tube from the intake pipe's barb connector.
Step 6: Fill and inject water
1. Fill the syringe with water.
2. Plug in the machine and turn it on.
3. Wait until the machine enters the pump running cycle.
4. Hold the F-type tube upright.
5. Gently inject water from the syringe into the tube.
(Be careful not to spill water onto the pumps.)
6. Observe if the water is drawn into the pumps through the tube.
If the pumps successfully draw water, the machine will complete the booting cycle and proceed to the preheating stage.
If not, refill the syringe and repeat the process, starting by restarting the machine with the rear switch.
Step 7: Final test and reassembly
1. Reconnect the F-type tube end to the intake pipe.
2. Reconnect the water level sensor tube to the board.
3. Turn on the machine to check if it can prime.
If it still fails, please contact us via our tech support channel.
If it primes successfully, turn the machine off and unplug it.
4. Remove the drip tray and water tank to finalize the assembly.
5. Secure the water level sensor cable and F-type tube with a new cable tie.
6. Reattach the hose clamp on the F-type tube connection.
7. Stretch it open to fit over the tube end, adjust the angle, and tighten it with your fingers first.
8. Then use pliers to fully secure it.
Note: the process described above is better than the older "Flip DE1 upside down and pour water into the intake tube" video
#repair #DIY #howitworks #documentation #pumps


